

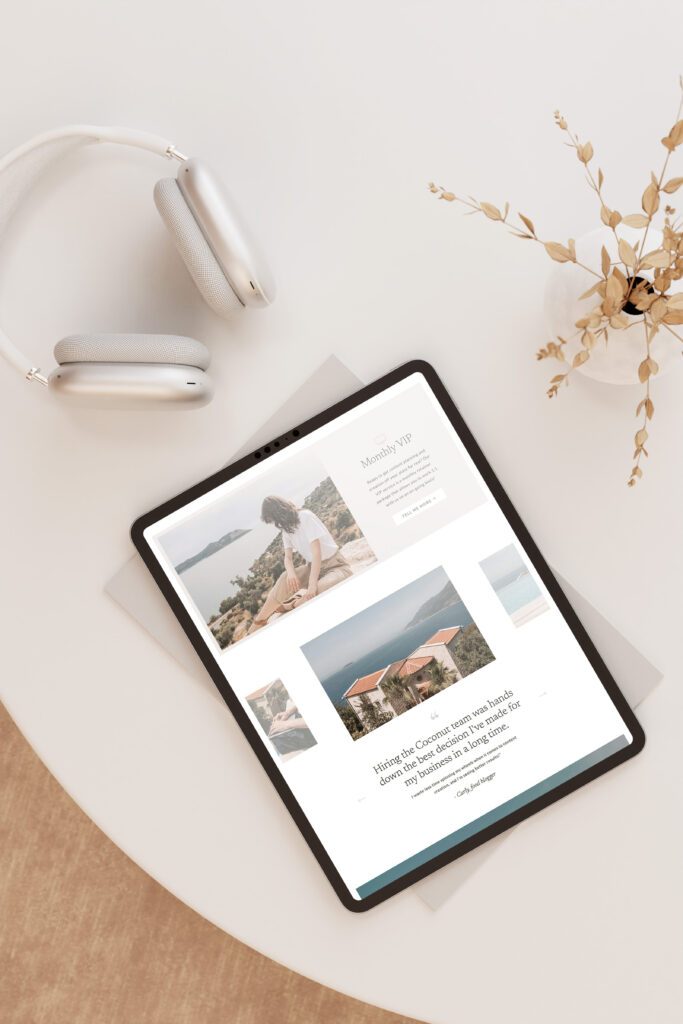
Customizing a Showit template can feel intimidating if you’ve never done it before. But you don’t need to be a pro designer to create a website – your template will provide a strong foundation so all you have to do is tweak things!
If you have a template and aren’t sure where to start, this guide will walk you through the big-picture steps of the customization process. Think of this as the roadmap. (And if you want a detailed, step-by-step checklist to follow along with, download my free DIY website checklist!)

Step 1: Choose the Right Template
Start by choosing a Showit template that fits your business and goals — not just one that “looks pretty.”
Before purchasing a template, ask yourself:
- Does it include the features I need?
- Does the layout flow and work for my type of business?
- Can I imagine my brand living inside this design?
A good template should feel like a strong foundation, not something you have to completely rebuild. For more tips on how to choose a Showit template, check out this blog post!
Step 2: Prepare Your Content (Before You Customize)
This is one of the most overlooked — and most important — steps.
Before touching the design, gather:
- Your website copy (even if it’s a rough draft)
- Brand photos or images
- Any links or embedded forms you’ll need
Having your content ready will make customization faster, easier, and far less frustrating.
Step 3: Apply Your Branding
Once your content is prepared, it’s time to make the template feel like yours.
This usually includes:
- Updating brand colors
- Choosing and applying fonts
- Adding your logos (if you have them)
Applying branding early helps everything else fall into place more naturally as you customize page by page. Along with images, a branded touch will give your website an aesthetic boost and take it from feeling generic to unique to you.
Step 4: Customize Each Page (Desktop + Mobile)
Now you can start working through each page of your site and replacing the template content with your own.
As you customize:
- Update text and images section by section
- Adjust spacing where needed
- Don’t forget to check and clean up mobile views — Showit gives you full control here, which is powerful but easy to overlook
Take this step one page at a time to avoid feeling overwhelmed.
Step 5: Do Basic Website SEO
SEO stands for “search engine optimization” and involves setting your site up well to increase your chances of showing up on Google. You don’t need advanced SEO to launch — but you do want the basics covered.
This includes:
- Updating page titles and meta descriptions
- Adding headings thoughtfully
- Making sure images have descriptive alt text
These small steps help your site be more discoverable and professional from day one.
Step 6: Final Review + Launch
Before you publish, do a final walkthrough:
- Click every link
- Read your copy out loud
- View your site on desktop and mobile
- Double-check contact forms and buttons
Once everything feels good, it’s time to hit publish 🎉
Want a Step-by-step Checklist to Refer to?
This post gives you the overview, but if you want a clear, step-by-step list you can follow while you customize your site, I’ve created a free DIY Website Checklist to guide you through the entire process.
Launching your first (or fourth) website is a big deal. So enjoy this process and try not to let those pre-launch jitters hold you back from hitting publish. You’ve got this!


©️ 2019-2026 MAYA PALMER DESIGNS L.L.C. | POLICIES | PHOTOGRAPHY CREDIT

